Perforated panels nbut a practical and decorative idea for every space in the house. Find out how to use them and create your own “do it yourself” version. We show you how!
Perforated coverings or panels were initially used in workshops to organize tools and keep them close at hand, but today they have become a versatile and practical element that helps keep the thousands of objects we use every day in order. They can be used throughout the house, in the living room, kitchen or on the bathroom wall.
A simple perforated panel with equidistant holes, made of wood or metal, is the starting point, the basis of the idea. Then you can customize it as you wish, depending on your needs, the space you have available or the things you want to organize inside. Hanging hooks, pieces of wood, shelves or console shelves, boxes or containers, etc. There are many options to create the most functional compositions in any case.
Make your own DIY punchboard
With this simple DIY project you can renovate the decor of your home while having fun. You don’t need too many complex materials or tools and you can use it for anything you want, such as hanging keys, a bag in the hall or kitchen accessories and wherever you want: in the study corner in front of the office, in the living room, with the children…
How to renovate your bedroom with little moneyLet’s do it!
- You will need thick plywood or a plywood board (cut it to size with a saw or buy it already cut), a wooden bar about 16 mm thick, a board about 1 cm thick and about 15 cm wide, white glue, fine-grit sandpaper, hooks and boxes to place on the board, dowels and wall cabinet supports.
- As for tools, get a saw, a drill and a drill bit (you can use a #14, although it depends on the size of the holes), a hacksaw, clamps and pliers, a ruler, an electric sander and a spirit level.
Cut and drill the board
- It is possible to make the perforated panel to the desired size by purchasing pre-cut plywood or by reusing a board. You will have to smooth it with an electric machine, insisting on the edges and corners to leave the surface smooth and without chipping.
- Then, drill holes in the panel. With the help of a ruler and a pencil, draw horizontal lines and mark on them the points where the holes will go. The number of lines and therefore holes will depend on the size of the board. Remember that they must all be at the same distance, perfectly aligned and form a sort of imaginary grid.
- Place the board on a mortise (a piece of wood that protects the table while drilling) and secure it with clamps or clamps so it doesn’t move. Drill the holes with a bit and drill, positioning the tool completely perpendicular to the board. After you’re done, sand the holes to smooth the wood.
- You already have the panel cut and drilled. Now it’s time to decorate it, if you prefer to personalize it more. You can leave it as it is, paint it the color you like, apply a wood stain, etc.
Shelves, supports, coat hangers… give style to your panel!
- Start by cutting the wooden board to make the shelves. They don’t have to be too wide, about 12 cm will be enough. Sand them as you did with the sheet.
- To make the supports that will hold the shelves, you will have to cut the wooden bar with the saw. You will need four pieces approximately 15cm long. Measure with a ruler, mark and cut the bar, first fixing it to the work table. In the same way, make pieces about 6 cm long that will serve as hangers.
- Think about how you will arrange the different elements on the panel. Once you have this clear, glue the shelf supports into the holes of your choice with white glue. Make sure they are perfectly straight by placing a level on them and adjust them before the glue dries completely.
- Glue the shorter pieces of wood by inserting them into the holes of your choice. Add hooks and hanging containers.
- Finally, install the pegboard on the wall using wall anchors and appropriate table and cabinet supports.
Tips for choosing the perfect fireplace
¡Síguenos en Facebook para recibir nuevas publicaciones!
Seguir en FacebookLatest Posts Published
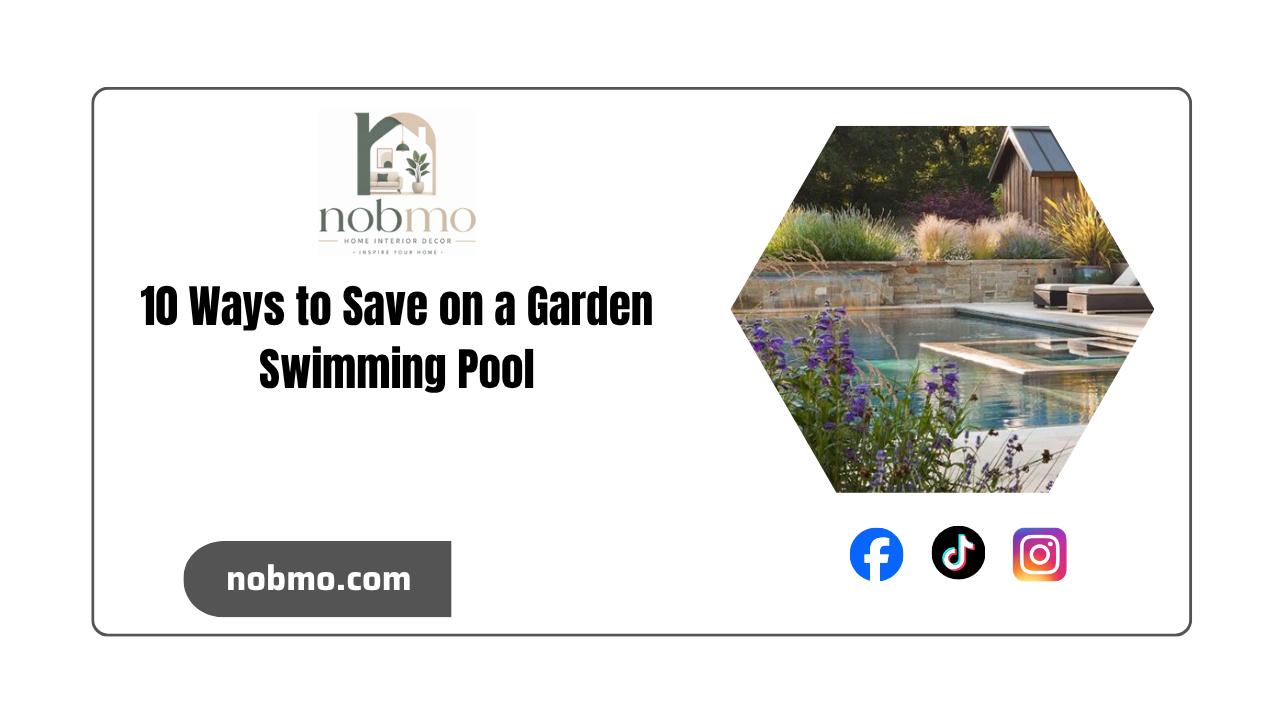
10 ways to save when you want to design a garden with a swimming pool

How to grow rose bushes at home

Sunflowers: care, how to plant them and when to water them
3 types of grills suitable for your garden or terrace

How to build a toy box at home

Ideas for furnishing your terrace with wicker furniture

10 Rustic Terraces You’ll Love
How to create beautiful and very simple floral compositions
How to cure brown leaves that appear on avocados?